The pot lid rattles and you know dinner is almost ready. You sense that little pressure build inside the cooker, that moment when flavors meld real nice and the steam’s doing its work. You feel kinda excited ’cause you know you did all the prep just right and that tender pull is just around the corner.
Y’all, the smell starts to fill your kitchen. A cinnamon and apple kinda hug that hits ya just right. You spot the steam puffin’ out every now and then, that valve hiss sound that tells you it’s workin’ on making that filling juicy and rich. Your mouth waters thinking about the sweet treat that’s about to come alive.
You recall the first time you used your pressure cooker for desserts and how it turned out better than you thought. This ain’t just some quick fix kinda meal, it’s a recipe that respects the process—a slow release and natural release kinda deal that keeps everything tender and just right. You’re almost ready to take that lid off and get your taste buds dancing.
The Truth About Fast Tender Results
- Pressure build is what gets your ingredients cooking fast and juicy inside the pot.
- Natural release lets the heat and steam settle down slow, keepin’ your pie filling tender and not mushy.
- Valve hiss is your cooker telling you it’s working hard, you’ll hear it right before the pressure’s reached.
- Slow release keeps the crust from sudden sogginess and helps your apples hold shape.
- Use a good mix of spices like cinnamon to give your pie that warm hello flavor.
- Flour’s your secret thickener that keeps juices from getting too runny.
Your Simple Ingredient Checklist
- 2 cups diced apples – pick ones that still got some bite so they don’t go mushy fast.
- 1/4 cup granulated sugar – sweet enough but not too much, keeps it balanced.
- 1 tsp ground cinnamon – this adds that cozy spice vibe you wanna taste.
- 1 tbsp all-purpose flour – to thicken the filling just right.
- 1 tbsp lemon juice – adds a little tang and keeps apples fresh looking.
- 1 package refrigerated pie crust – makes your crust nice and flaky without fuss.
- 1 egg, beaten – for brushing that crust and giving it a golden shine.
- Grease for muffin tin – keeps your pies stick-free and easy to pop out.
- Optional extra crust pieces – for making lattices or covers when you wanna get fancy.
- Mixing bowl and spoon – gotta combine all those good flavors well.
Your Complete Cooking Timeline
- Step 1 Grab your oven and preheat it to 375 6F (190 6C). Nothing’s worse than waiting with a cold oven.
- Step 2 In your bowl, combine the diced apples, sugar, cinnamon, flour, and lemon juice. Mix it up till every apple gets coated like a little flavor hug.
- Step 3 Roll out your pie crust and cut into small circles fit for your muffin tin — this is where those tiny pies start looking cute.
- Step 4 Press each crust circle into the greased muffin tin pockets. Don’t forget to grease those spots or your pie might stick and break.
- Step 5 Spoon the apple mixture right into each crust. You want ’em full but not spilling over, trust me on this one.
- Step 6 Cut additional crust circles or strips for tops if you wanna make lattice or just cover your pies. You can get creative with it.
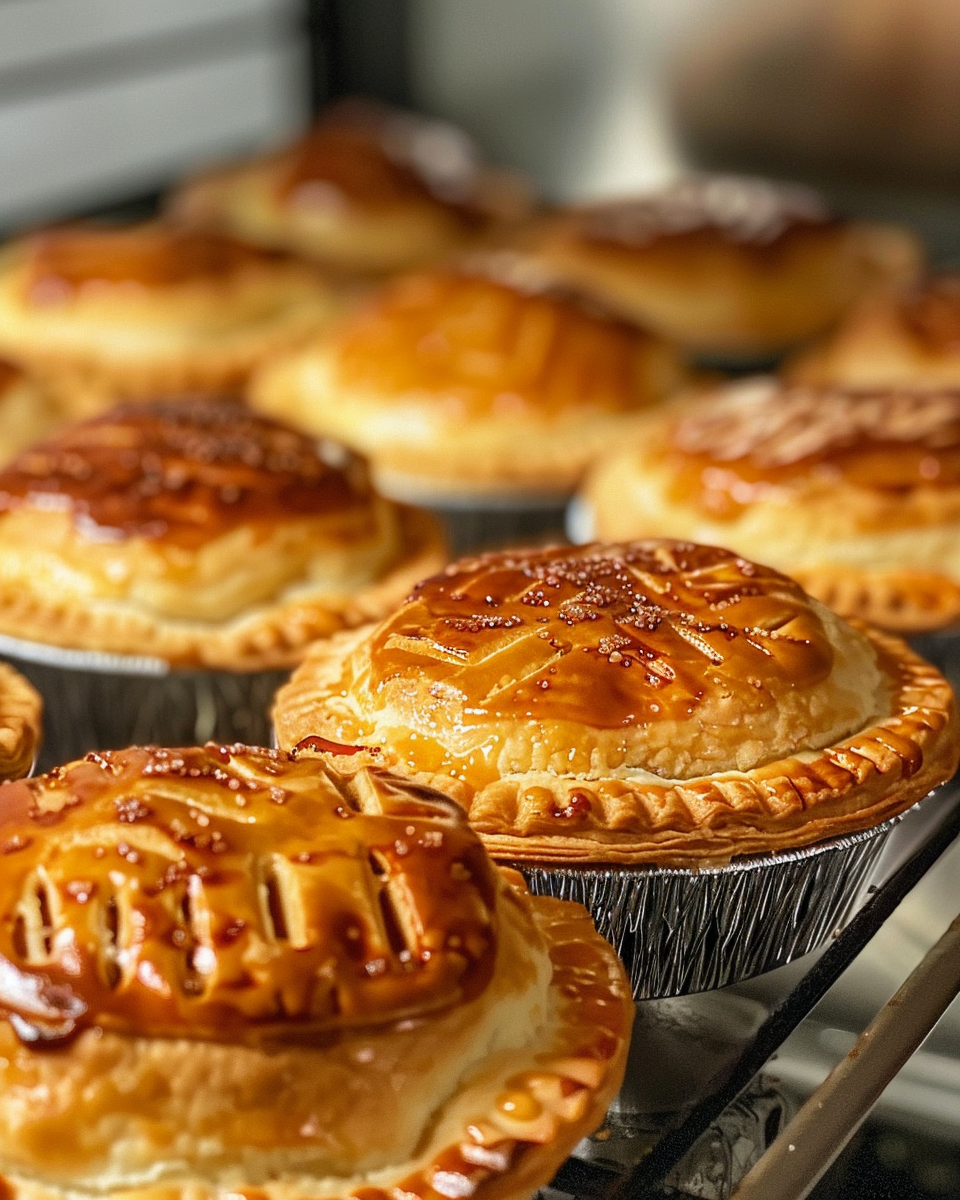
- Step 7 Brush the tops with your beaten egg to get that perfect golden brown when it’s baking.
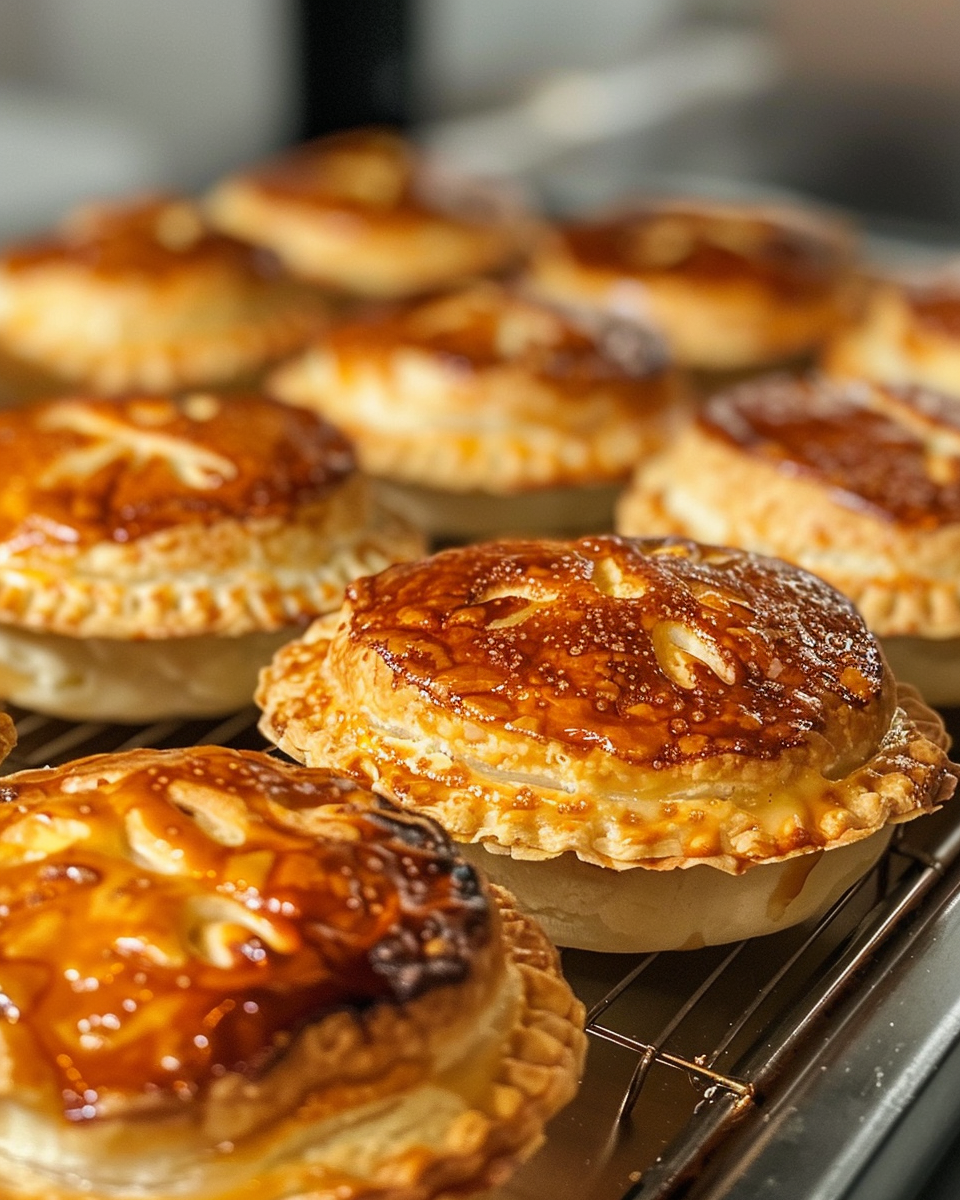
- Step 8 Bake those beauties for 25 to 30 minutes until crusts are golden and filling’s bubbly. Let ’em cool 10 minutes in the pan before you try takin’ ’em out.
Valve Hacks You Need to Know
- When the valve hiss starts, don’t rush to open it. Patience with a natural release keeps that filling tender and the crust crisp.
- Use a spoon or cloth to gently nudge the valve away from full pressure to slow release if you want more control on how your pies finish cooking.
- After cooking, giving the valve a tiny shake can help you get an even slow release without too much steam escaping too fast, sorta like calming it down for the perfect finish.
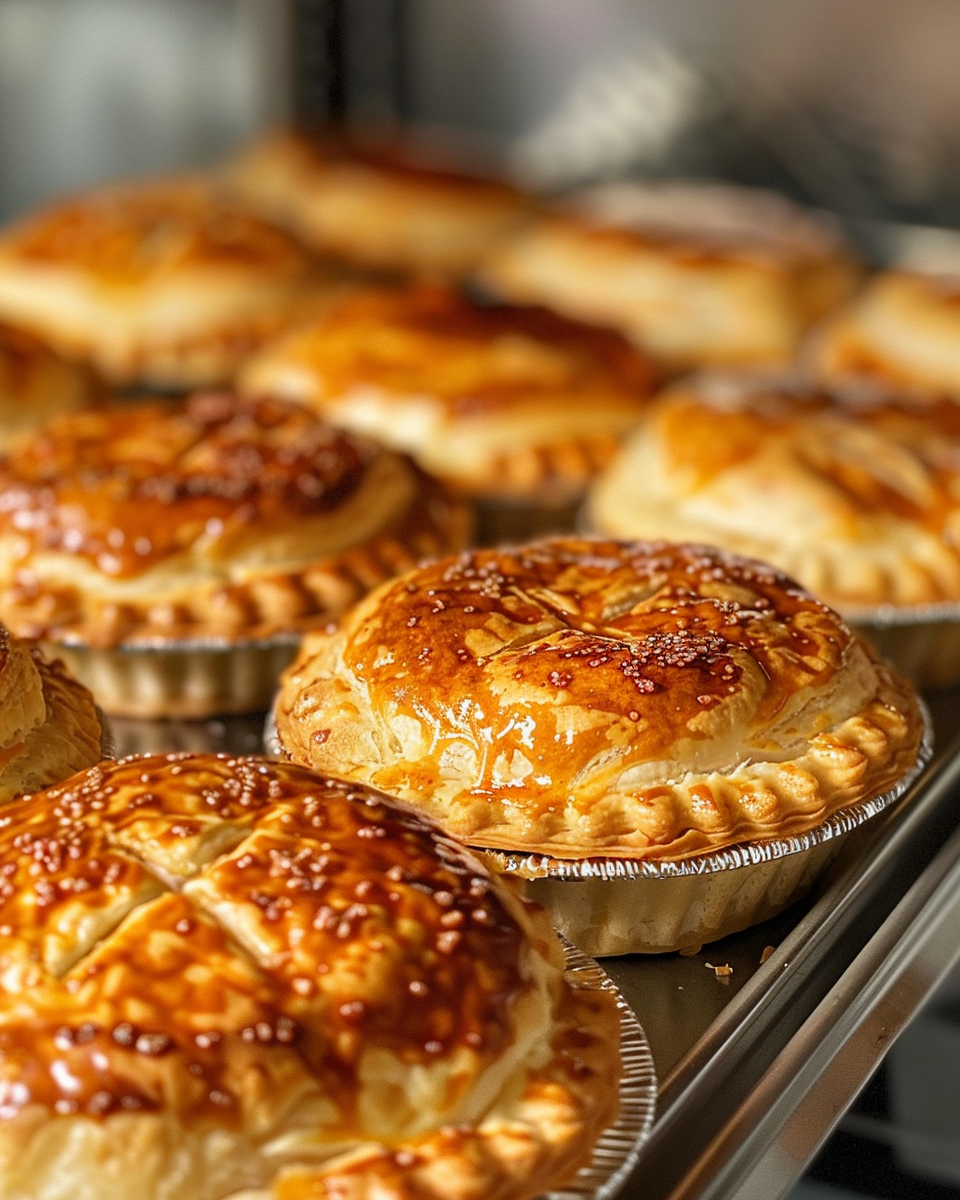
What It Tastes Like Fresh From the Pot
First bite hits your tongue with warm cinnamon and sweet apple soaking in all those juices. It’s tender but still has some bite, like the fruit’s holding onto its story.
The crust’s golden edges break easy with a soft, flaky feel that melts just the right amount in your mouth. That egg wash gives it this subtle shine that feels as good as it looks.
Each mouthful is kinda like a little cozy hug, rich with flavor but not too heavy. The flour keeps everything from sliding off the tongue, giving your pie a nice balance of softness and structure.
You can almost taste the love and time that went into it, with every piece nice and warm from the pot and that tender pull making you wanna go back for another slice.
Making It Last All Week Long
- Store cooled pies in an airtight container on the counter for a day or two to enjoy quick and fresh.
- For longer keeping, wrap pies individually in plastic wrap and pop ’em in the fridge. They usually last up to 4 days this way.
- Freeze extra pies by wrapping good with foil after plastic wrapping. Thaw in fridge overnight before reheating to keep textures intact.
- Reheat in an oven or toaster oven to get the crust crispy again. Microwaves can work but might make crust a bit soggy.
Common Questions and Real Answers
- Q: Can I use fresh pie crust instead of refrigerated?
A: Heck yeah you can. Just roll it out same way but keep it cool so it don’t get too soft and sticky while you’re workin’. - Q: How do I know when to stop the pressure cooker for this recipe?
A: You’ll hear the valve hiss start and let it pressure build fully. Then after cooking, do a slow release or natural release to keep the filling tender. - Q: Can I swap out apples for other fruits?
A: For sure. Pears, peaches, or berries can work but keep in mind cooking times might change a bit. - Q: What if my crust gets soggy?
A: Make sure to grease your tin well and maybe do that slow release so moisture don’t hit the crust too hard all at once. - Q: Can I make these pies ahead and freeze?
A: Yup, freeze ’em after baking and coolin’ then reheat when you want fresh slices. - Q: Any tips for getting that perfect golden crust?
A: Don’t skip that egg wash. It makes a huge difference and helps the crust get that golden glow you’re lookin’ for.
Mini Apple Pies
Ingredients
Equipment
Method
- Preheat oven to 375°F (190°C).
- In a bowl, mix diced apples, sugar, cinnamon, flour, and lemon juice until apples are coated.
- Roll out pie crust and cut into small circles to fit muffin tin.
- Grease muffin tin and press crust circles into the pockets.
- Spoon apple mixture into each crust without overfilling.
- Add optional top crusts or lattice strips as desired.
- Brush tops with beaten egg.
- Bake for 25 to 30 minutes until golden and bubbly.
- Cool in pan for 10 minutes before removing.