The pot lid rattles and you know dinner is almost ready. It’s that sound you remember from all your pressure cooker adventures, the float valve dancing and telling you things are getting real inside. You gotta respect that little hiss, it means the pressure’s building up and soon, your meal’s gonna be perfect.
You spot the steam escaping just a bit with each rattle. You sense the broth depth even though this ain’t a soup, more like that juicy apple filling bubbling under the pie crust. That natural release time you’re waiting for means patience, but dang is it worth it when you get that golden crust and sweet cinnamon aroma filling your kitchen.
The slow release is kinda like the grand finale here, letting all that steam out gently without blasting your good vibes. It gives the filling time to thicken up right there inside the pot, no mushy mess just perfect hold. The quick release wouldn’t do this justice, trust me on this one.
What Makes Pressure Cooking Win Every Round
- Speed: Pressure cooker slashes cooking time down way faster than oven or stove.
- Flavor Pump-Up: Seals in juices and spices so your dish tastes richer and more intense.
- Energy Saver: Less time cooking means less energy used, even if that’s not your focus.
- Easy Cleanup: One pot wonder means less mess, who doesn’t love that?
- Consistency: Once you get your timing right, every meal comes out reliably good.
- Versatility: From soups to desserts, this gadget handles it all with style.
All the Pieces for This Meal
- 2 large apples peeled and diced – sweet with a bit of tartness is your best bet.
- 2 tablespoons granulated sugar to add some sweetness but not too much.
- 1 teaspoon ground cinnamon for that warm, cozy flavor that screams fall.
- 1 tablespoon lemon juice helps keep the apples bright and stops browning.
- 1 tablespoon all-purpose flour to thicken up the filling so it ain’t runny.
- 1 package refrigerated pie crusts to make life easier and crust flaky.
- 1 egg beaten for that perfect egg wash that gives your crust a nice shine.
- Optional extras like a sprinkle of nutmeg or a tiny pinch of salt to level flavors.
How It All Comes Together Step by Step
Preheat your oven to 375°F (190°C). While that’s warming up, you get your filling ready. In a bowl, you mix diced apples, sugar, cinnamon, lemon juice, and flour all together. This combo works real good to get that balance of sweet and thick.
Now it’s time to roll out those pie crusts. You’ll cut ‘em into small circles using a cookie cutter or a glass, whatever you got at hand. Place half these circles on a parchment-lined baking sheet ready for filling.
Spoon a small amount of that apple mixture on each circle’s center. Don’t overdo it or the crusts won’t seal right.
Top each with the remaining dough circles pressing the edges with a fork. This seals everything up tight so filling don’t leak while baking.
Brush the tops with beaten egg. This step makes your pies golden and shiny once they come out of the oven.
Use a knife to cut a small slit on top of each pie so steam can escape while cooking. This prevents any explosions in your oven, trust me it happens.
Bake for about 25 to 30 minutes till the pies turn golden brown and you smell that cinnamon breeze fill your kitchen.
Let them cool slightly before you dive in. It’s tough but trust me your tongue will thank you.
Quick Tricks That Save Your Time
- Use pre-cut apples from the store if you wanna skip peeling and dicing.
- Mix your filling the night before and keep it in the fridge, flavors blend better too.
- Let the pie crust warm a little before rolling to avoid cracks.
- Use quick release to speed up if you’re in a rush but be ready for a tiny splash of steam.
Your First Taste After the Wait
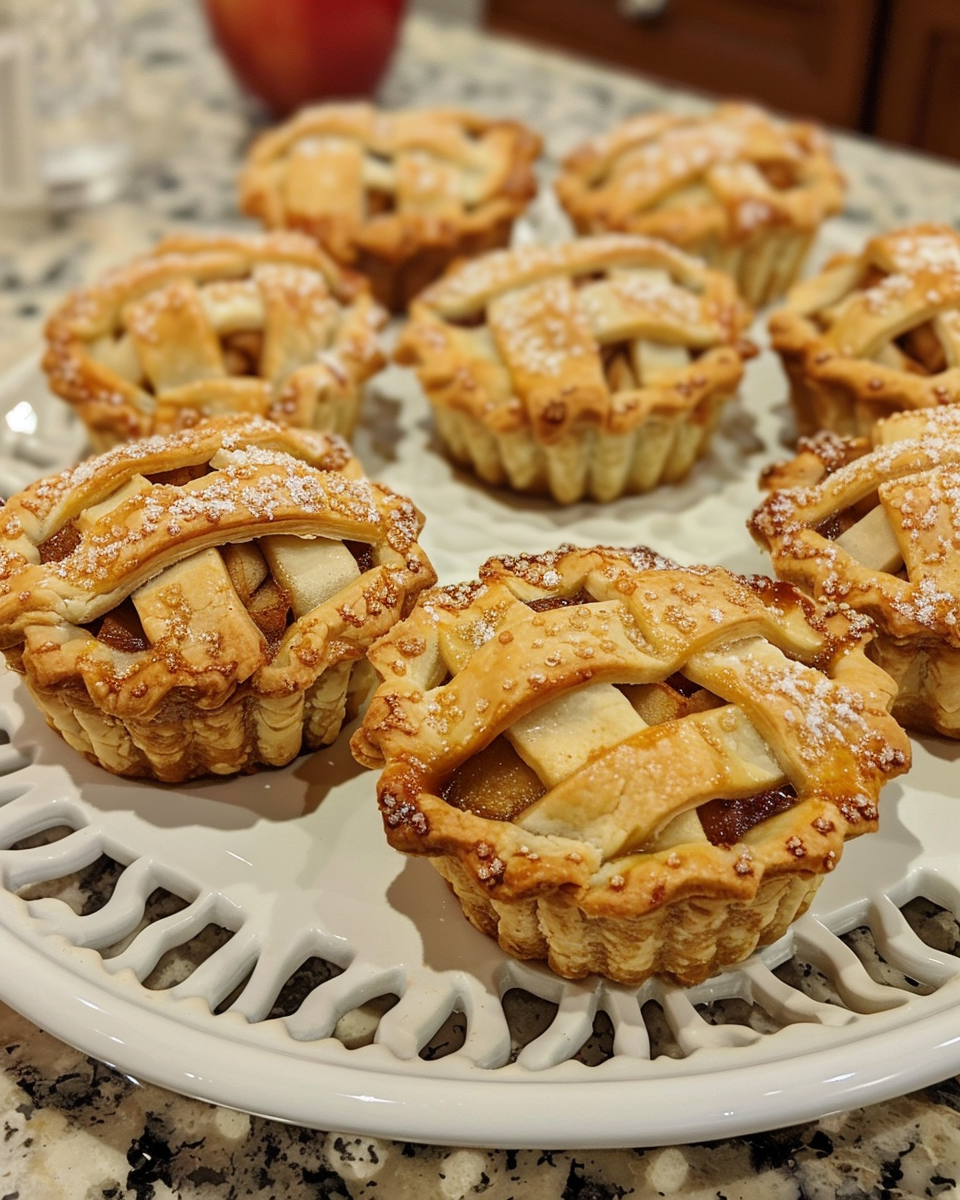
The moment you bite into your apple pie, you remember why you went through all this. The crust is perfectly flaky, a little crisp from that egg wash shine.
Inside, the apple filling is deep and rich with cinnamon hugging every bite. It’s not too sweet, just dang right right for a cozy treat.
You sense the lemon juice tightening up the flavors so it isn’t just sugary mush. The whole thing melts in your mouth and smells like home and fall in every crumb.
Making It Last All Week Long
- Store leftover pies in an airtight container at room temperature for up to 2 days.
- For longer storage, wrap each pie tightly in plastic wrap and freeze them up to 3 months.
- Reheat in a toaster oven or regular oven at 350°F (175°C) till warmed through to keep crust flaky.
- If fridge-storing, cover with plastic wrap and eat within 4 days for best taste.
Everything Else You Wondered About
- Can I use fresh pie crust instead of refrigerated? Yeah, fresh is great if you want but refrigerated pie crusts save you time and still tastes good.
- What’s natural release in pressure cooking? It’s when you let the pressure drop slowly on its own instead of popping the quick release to let steam out fast.
- How do I know when to use quick release? Quick release is great when you want to stop cooking fast to avoid overcooking, but watch out for hot steam.
- What’s the float valve’s job? The float valve shows when your cooker is up to pressure and ready to roll.
- Can I add nutmeg or other spices? Totally, nutmeg and a pinch of salt add nice warmth and depth to your apple filling.
- Should I let pies cool before eating? Yes please, letting them cool a bit helps filling set and saves your tongue from burnin.
Pressure Cooker Mini Apple Pies
Ingredients
Equipment
Method
- Preheat your oven to 375°F (190°C).
- In a bowl, mix diced apples, sugar, cinnamon, lemon juice, and flour together.
- Roll out the pie crusts and cut them into small circles using a cookie cutter or glass.
- Place half the dough circles on a parchment-lined baking sheet.
- Spoon a small amount of the apple mixture onto the center of each circle.
- Top with the remaining dough rounds and press edges with a fork to seal.
- Brush the tops with beaten egg for a golden shine.
- Cut a small slit in the top of each pie to allow steam to escape.
- Bake for 25-30 minutes or until golden brown and fragrant.
- Let cool slightly before serving.