You catch the smell through the steam vent and suddenly you are starving. That sweet, kinda tangy aroma, it just grabs you. You know somethin’ good is cookin’ when that little float valve pops up, tellin’ you all that goodness is locked inside, buildin’ pressure and gettin’ ready to transform simple stuff into somethin’ really special.
It’s sorta like how a good blueprint works, you know? Like, when you got all your JSON Schema keywords lined up, everything just makes sense. You got your rules, your types, your boundaries. It’s not just a bunch of random ingredients thrown together, no way. It’s a carefully planned structure, a real dependable recipe that tells you exactly what to expect.
And that’s what we got here. This ain’t just some recipe. This is the recipe, the one you gonna pull out when you need comfort, when you need somethin’ that tastes like home. It’s got that warm, gooey apple goodness, and trust me, your pressure cooker is gonna make it sing.
Why This Recipe Works Every Single Time
This recipe is foolproof, honestly. You got a few key things happenin’ in that pressure cooker that just make it perfect every single time you cook it.
First off, the pressure build inside gets those apples super soft real quick. No more waitin’ forever for them to break down. You just set it and let it do its thing.
Second, the way the broth depth is controlled, it really helps the apples steam perfectly without gettin’ mushy. They stay tender, but they ain’t falling apart like some kinda baby food.
Then, you got the quick release. That’s your best friend here. It stops the cookin’ right on time so your apples are perfectly done, not overcooked. You get that ideal texture.
Also, using those simple, clear rules for ingredients, like our JSON Schema keywords, it makes sure you always got the right balance. Every part of the recipe is well-defined, so you never guess.
And finally, that tender pull of the apples, once they’re done, is just outta this world. You gonna wonder how you ever lived without this method, for real.
The Complete Shopping Rundown
Alright, let’s talk ingredients. You ain’t gonna need a whole lot for this, just some good, fresh stuff to make these apples truly shine. Think of these like the essential fields in your schema, you gotta have ’em.
You need two large apples, and pick ones that hold up well when cooked, like Honeycrisp or Granny Smith. Make sure you get ’em peeled and diced up nice and even. That’s your main ingredient, the core of everything.
Then grab about a quarter cup of granulated sugar. This is gonna add that sweetness you crave, balance out the tartness of the apples real good.
Next up, one teaspoon of ground cinnamon. Oh, dang, the smell alone is gonna make you happy. This spice just marries with apples like nobody’s business.
A tablespoon of all-purpose flour, you need that too. This is gonna help thicken up your apple goodness, give it a nice, kinda saucy texture.
And don’t forget your tablespoon of lemon juice. This brightens everything up, keeps the apples from gettin’ too brown, and just adds a little zip. It’s kinda like your required title field, you know?
For the easy part, grab one package of refrigerated pie crusts. You’ll get two crusts in there. This is your quick fix, your shortcut to pie-like heaven without all the fuss.
Then, one egg, beaten. You gonna mix this with a little milk for a wash that makes everything look golden and pretty.
Speaking of milk, grab a tablespoon of that too. Whole milk works best, gives you a richer color.
And last but not least, a tablespoon of coarse sugar for topping. This adds a little sparkle and a real nice crunch to the finish. It’s the final flourish, like an optional description that just makes it better.
The Exact Process From Start to Finish
Okay, you ready to get cookin’? This is where the rubber meets the road. We gonna use that pressure cooker to get these apples perfect, then assemble our kinda individual apple treats. It’s a journey, but a tasty one.
First thing, you gonna get your oven preheated to 375°F (190°C). We ain’t cookin’ the apples in there, but you gonna need it for the final touch, just a little bit later.
In a bowl, combine those diced apples, the granulated sugar, cinnamon, flour, and lemon juice. Give it a real good mix. You want all those flavors to get to know each other. This is your main filling, perfectly mixed.
Now, here’s where your pressure cooker comes in. Add about a half cup of water to the inner pot, then place a trivet inside. Spoon your apple mixture into an oven-safe bowl or a steamer basket that fits inside your pressure cooker. Carefully place it on the trivet. This is where the pressure build starts, steamin’ those apples just right.
Secure the lid on your pressure cooker and set the vent to sealing. Cook on high pressure for about 3 minutes. This quick cook time is all you need to get that tender pull on your apples without turning them to mush. Once the time is up, do a quick release to let out the pressure. Be careful of the steam!
While your apples are cooling a bit, roll out those pie crusts and cut ’em into circles. You can use a round cutter, or even just a glass. Place half of these circles onto a parchment-lined baking sheet. These are your bases, ready for filling.
Spoon a small amount of that delicious, pressure-cooked apple filling onto each crust. Don’t overfill ’em, you want to be able to seal ’em up. Then top with the remaining crust circles. Use a fork to seal the edges all around, and don’t forget to cut some small slits on top. This is your structure, all sealed up tight.
In a small bowl, whisk together that beaten egg and milk. Brush this egg wash over your pies and sprinkle ’em with coarse sugar. This is your final presentation, gonna look real good when it comes outta the oven. Bake for about 25–30 minutes, or until they’re golden brown and smell absolutely amazing. Let ’em cool slightly before you dig in.
Smart Shortcuts for Busy Days
We all got those days when you’re just flyin’ by the seat of your pants, right? But that don’t mean you gotta skip out on good food. Nope. I got some smart shortcuts for you, makin’ sure you can still get this done.
First up, you can totally prep your apples ahead of time. Peel ’em, dice ’em, and mix ’em with the lemon juice to keep ’em from browning. Store ’em in an airtight container in the fridge for a day or two. That’s a huge time-saver when you’re ready to cook.
Next, get yourself some pre-made pie crusts. Seriously, don’t feel bad about it. That’s what they’re there for! It shaves off so much time and they work real good for these individual pies. No need to roll your own if you’re in a hurry.
Another good one is to cook a bigger batch of the apple filling in your pressure cooker. You can double or even triple the apple part of the recipe. Then you just gotta portion it out and store it.
And for a real quick fix, if you don’t even have time for the oven, you can spoon the pressure-cooked apple filling over vanilla ice cream or a warm biscuit. It’s not the full pie experience, but it’s dang good and super fast.
When You Finally Get to Eat
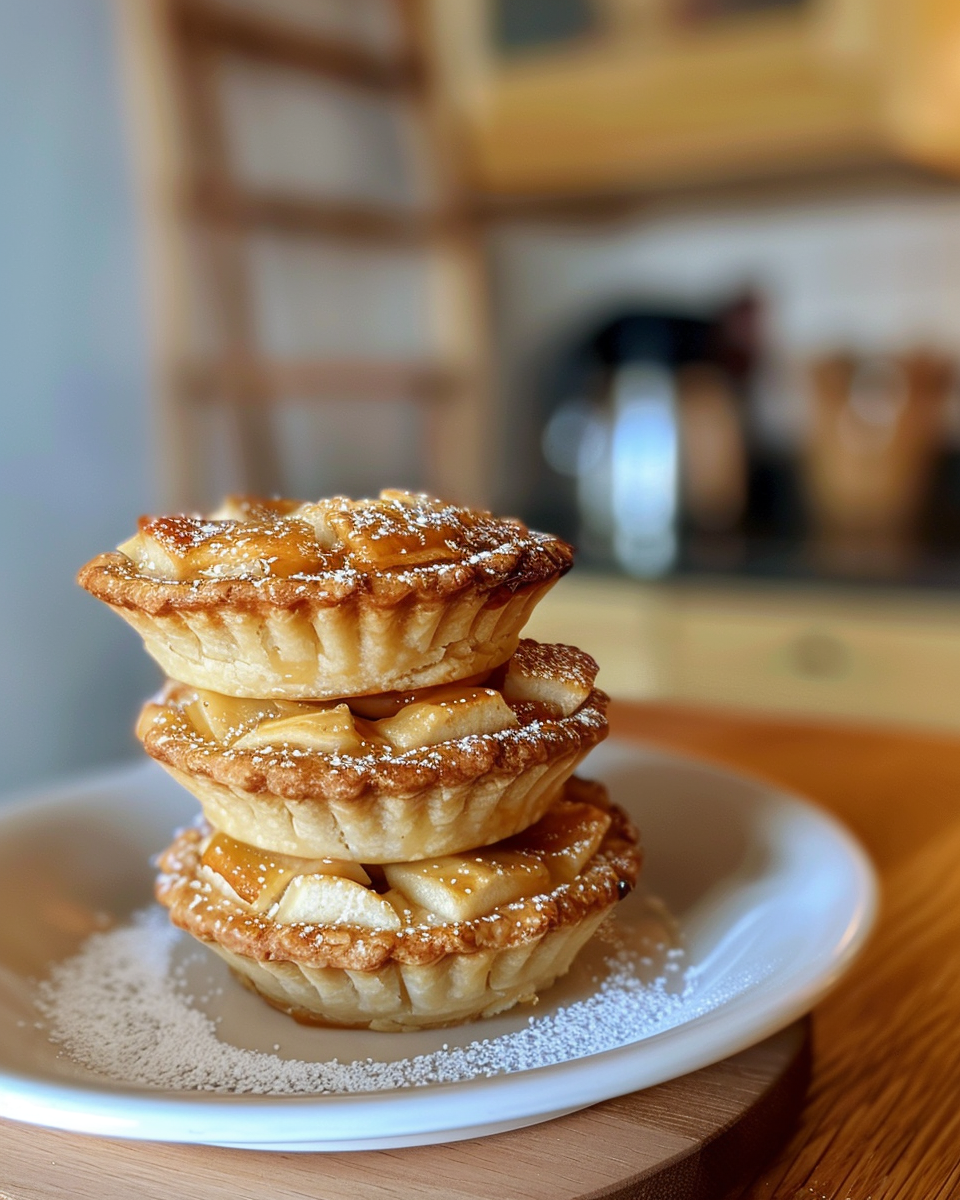
Oh, honey, this is the best part. When you finally get to sit down and take that first bite, you gonna forget all about the prep. The outside is gonna be golden brown and kinda flaky, with that crunchy coarse sugar.
Then you bite in, and that warm, tender pull of the apples just hits you. They’re soft, but they still got a little bit of texture. The cinnamon and sugar mix with that slight tang from the lemon, it’s just a perfect symphony of flavors.
It’s the kind of food that makes you feel all cozy inside, like a warm hug on a cold day. It’s simple, it’s honest, and it tastes like pure comfort. You gonna want to make this again and again, trust me.
Keeping Leftovers Fresh and Ready
Okay, so you made a big batch, or maybe you just got a few left over. No worries! Keepin’ these fresh is easy peasy, so you can enjoy ’em later without any fuss.
For any leftover pressure-cooked apple filling that didn’t make it into a pie, you can store it in an airtight container in the fridge for up to 3-4 days. It’s great to scoop over oatmeal or yogurt for a quick breakfast.
If you got some fully baked individual pies left, let ’em cool completely first. Then, place ’em in an airtight container or wrap ’em individually in plastic wrap. They’ll stay good at room temperature for a day, or in the fridge for up to 2-3 days. Reheat ’em in a toaster oven for a few minutes to get that crust crispy again.
You can also freeze the baked pies! Once they’re totally cool, wrap each one tightly in plastic wrap, then put ’em in a freezer-safe bag or container. They’ll be good for a couple of months. When you’re ready to eat, just pop ’em frozen into a preheated oven (around 350°F or 175°C) until warmed through and golden again. It works real good.
The FAQ Section You Actually Need
Got questions? I got answers. Here are some of the common things folks ask me about this recipe.
Can I use different types of apples?
You sure can! I like Honeycrisp or Granny Smith for their firm texture, but you can mix it up. Just pick apples that are good for baking, ones that hold their shape kinda well and don’t turn to total mush. For more cooking tips, check out our other posts.
What if I don’t have a round cutter for the crusts?
No biggie at all! Just grab a glass or a jar with a round opening. Press it down real firm to cut your circles. It works just as good, you don’t need fancy tools.
My float valve isn’t popping up, what’s wrong?
Make sure your lid is sealed correctly and the vent is set to sealing. Sometimes you gotta give the lid a little twist to make sure it’s snug. If it still don’t pop, check your pressure cooker’s manual, maybe somethin’ is outta whack.
Can I make this filling sweeter or less sweet?
Absolutely! The recipe is a guideline. If you like things a little sweeter, add another tablespoon or two of sugar to the apples. If you prefer less sweet, cut back a bit. Taste it before you put it in the pressure cooker if you want.
How do I prevent the pies from getting soggy bottoms?
A couple of things help here. Make sure your apple filling cools down a bit before you put it on the crusts. And use that parchment paper on your baking sheet. It helps create a little barrier and prevents sticking, too.
What’s the deal with quick release versus natural release?
For this recipe, quick release is key. It means you manually release the pressure right away, which stops the cooking process fast. This helps keep your apples tender-crisp, not overdone. A natural release would cook them longer and make ’em too soft.
JSON Schema keywords
Ingredients
Equipment
Method
- Preheat oven to 375°F (190°C).
- In a bowl, mix diced apples, sugar, cinnamon, flour, and lemon juice.
- Add 1/2 cup of water to the pressure cooker and place a trivet inside. Place apple mixture in a heat-safe bowl and set on trivet.
- Seal lid, cook on high pressure for 3 minutes. Quick release when finished.
- Roll out pie crusts and cut into circles. Place half on parchment-lined baking sheet.
- Spoon apple filling onto bottom dough circles. Top with remaining circles. Seal with fork and cut slits on top.
- Whisk beaten egg with milk. Brush over pies and sprinkle with coarse sugar.
- Bake in preheated oven for 25–30 minutes or until golden brown.
- Let cool slightly before serving and enjoy!